A DIY carbon fiber drone frame build puts you in control of stiffness, mass distribution and repairability — the three variables that decide how a multirotor handles in wind, survives a crash and costs to maintain over a season. Commercial frames lock you into one arm length and one spare-parts supp
Introduction
A DIY carbon fiber drone frame build puts you in control of stiffness, mass distribution and repairability — the three variables that decide how a multirotor handles in wind, survives a crash and costs to maintain over a season. Commercial frames lock you into one arm length and one spare-parts supply chain; building your own lets you spec plate thickness to your motor thrust class and replace a single arm for the price of a blank instead of a whole airframe. This guide covers material selection, design rules for a carbon fiber fpv drone frame, cutting and drilling, hardware choice, bonding for tube builds, and the pre-flight quality checks that separate a trustworthy frame from one that folds on the first hard maneuver.
Choosing Construction for Your DIY Carbon Fiber Drone Frame
Every DIY carbon fiber drone frame falls into one of three families, and the choice drives everything downstream.
| Construction | Best for | Mass (5-inch) | Tooling | Field repair |
|---|---|---|---|---|
| Flat plate (CNC-cut) | FPV freestyle, racing, light camera | 90-140 g | Drill press, files, sandpaper | Swap arm plate in minutes |
| Molded monocoque | Cinema drones, long-endurance | 70-110 g | CNC mold or purchased shell | Interior patch only |
| Tube chassis | Heavy-lift, survey, sensor booms | 150-350 g | Saw, adhesive, alignment jig | Cut out and re-bond tube |
For a first build, flat plate is the right starting point: no mold cost, parts are flat and nestable, and a broken arm is a five-minute swap. How are carbon fiber drone frames made at commercial scale? Almost always as CNC-cut plate for the FPV market — so a plate build mirrors factory process without factory tooling. Tube chassis builds make sense once you move to 15-inch props or sensor arms beyond 400 mm.
Material Selection: Plate Grade, Thickness and Fiber Orientation
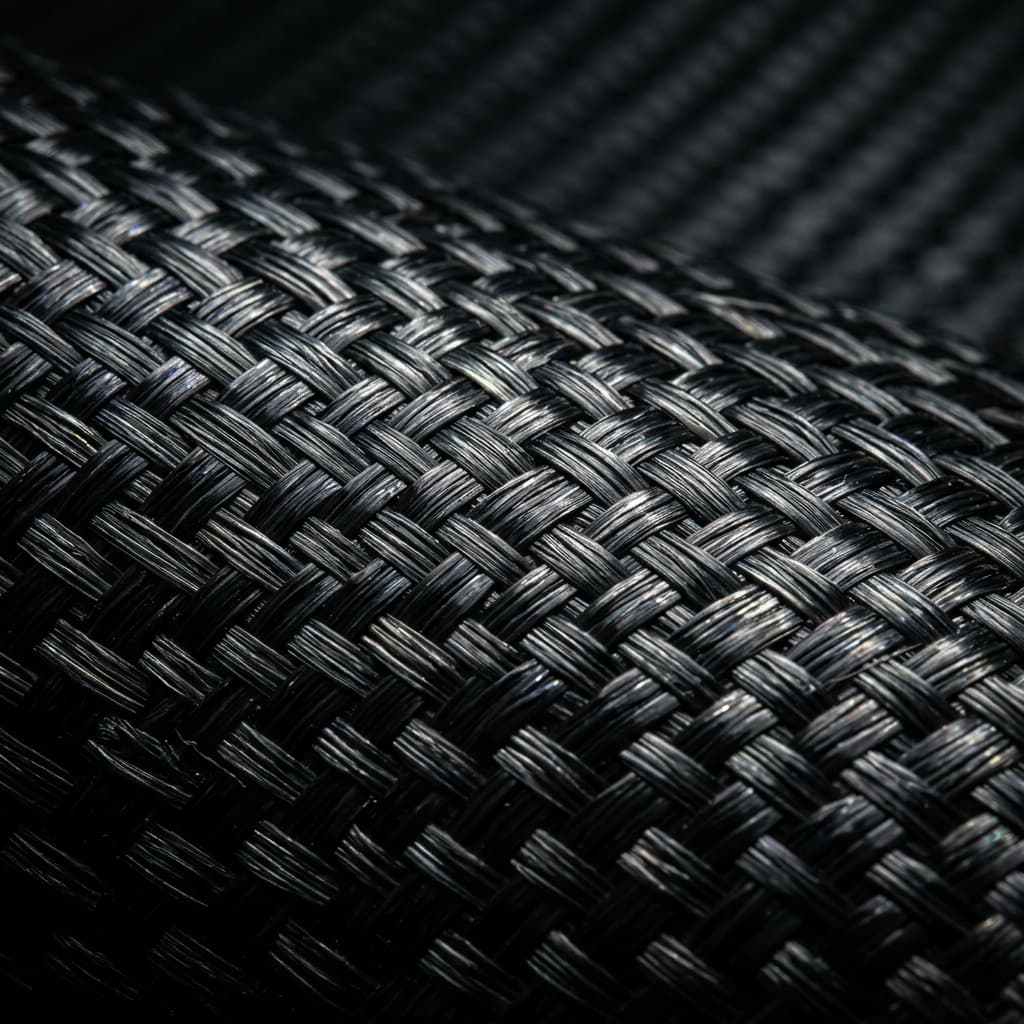
Carbon plate for drone frames is typically 3K twill or unidirectional, quasi-isotropic (0/±45/90) or 0/90 crossply. The practical specs:
- Thickness: 2 mm for center plates on ultralight builds, 3-4 mm for arms on 5-inch quads, 5-6 mm for 7-inch and above. Thicker is stiffer but adds rotating mass at the arm tip.
- Layup: quasi-isotropic handles multi-directional crash loads; 0/90 crossply is stiffer along the fiber axis but delaminates easier on off-axis impact. For DIY, quasi-isotropic 3K twill is the safe default.
- Sheet size: a 5-inch quad arm set nests on a 300 × 200 mm blank; budget 25-40% scrap.
- Finish: matte or gloss is cosmetic — what matters is flatness. A warped plate preloads the arm bolt pattern and shows up as vibration.
Buy plate from a supplier who can provide a resin system and cure cycle. Decorative carbon sold for interior trim has void content too high for flight loads — it looks right and fails early.
Design Rules and Cutting for a Carbon Fiber FPV Drone Frame
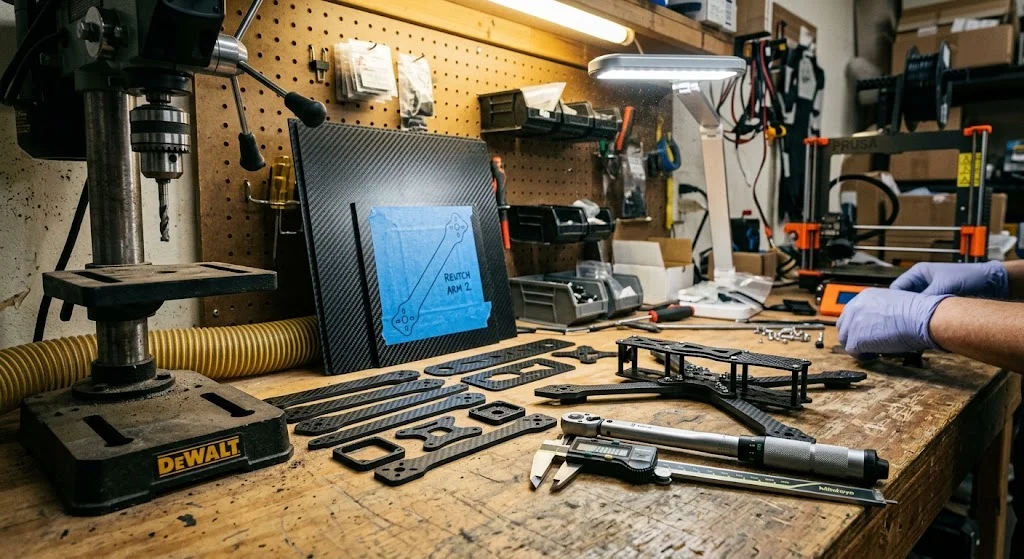
Whether you draw in CAD or start from an open-source frame file, key design rules: drill bolt holes undersize (M3 → 2.8 mm) then ream to final; fillet arm roots to at least 3 mm radius; use standard 16 × 19 mm or 19 × 19 mm M3 motor mount patterns with 1.5 mm edge margin. Without a CNC router, a DIY carbon fiber drone frame is cut by hand or with a drill press and jigsaw — slower, but entirely achievable:
- Marking: tape the plate with painter's tape, then trace the pattern. The tape protects the surface and reduces delamination.
- Cutting: use a diamond-coated or carbide-tooth jigsaw blade at low speed; carbon dust is abrasive — wear an N95 and cut wet or with extraction.
- Drilling: use a drill press with a carbide bit at 1,500-2,500 rpm; back the plate with scrap wood to prevent exit blowout. Step up through pilot sizes.
- Edge finishing: file and sand to 400 grit, then seal the edge with thin CA glue or epoxy to lock loose fibers.
How are carbon fiber drone frames made in a factory? CNC cutting at 18,000-24,000 rpm with dust extraction — the hand process follows the same sequence.
Assembly and Hardware Choice
Plate frames assemble mechanically; tube chassis frames require bonding:
- Fasteners: M2.5 or M3 steel or titanium button-head screws with nylon-insert locknuts. Avoid aluminum screws — they shear and gall.
- Thread locker: medium-strength (blue) Loctite on every steel-to-steel joint. Do not use on carbon-to-carbon bonded joints.
- Tube bonding (chassis builds): toughened epoxy (3M DP420 or equivalent); scuff the tube end 20 mm, solvent-wipe, bond into machined aluminum nodes, cure 24 h at room temperature. Alignment jig holds motor mounts within 0.2 mm across the diagonal.
- Standoffs: nylon or aluminum M3 for the stack; keep antennas 10-15 mm off the carbon to avoid detuning.
Torque all fasteners to a consistent low value — 0.3-0.4 N·m for M3 into carbon — and re-check after the first flight session.
Pre-Flight Quality Checks
Before the maiden, run this checklist — the same gates a commercial factory applies:
| Check | Pass | Fail indicator |
|---|---|---|
| Tap test along each arm | Sharp click, uniform | Dead thud = delamination |
| Edge inspection | Clean ply lines, no fiber pullout | Fuzzy edge, whitened resin |
| Hole quality | Reamed, countersunk, concentric | Rough walls, exit blowout |
| Motor mount alignment | Within 0.2 mm across diagonal | Visible twist or uneven gap |
| Fastener torque | All M3 at 0.3-0.4 N·m, Loctite applied | Any loose or missing screw |
| Bond lines (tube builds) | Continuous fillet, no voids | Gaps, dry spots, squeeze-out holes |
A frame that passes all six checks is ready for hover. Log your build spec so your next build can iterate on measured data instead of guesswork.
Frequently Asked Questions
Is a DIY carbon fiber drone frame stronger than a commercial one?
Not necessarily stronger, but more tunable. A well-built plate frame with correct hole quality and edge sealing matches commercial strength at the same thickness. The weakness of DIY builds is consistency — hand-cut edges and hand-drilled holes vary more than CNC output, so the pre-flight checklist matters more.
How long does a DIY carbon fiber frame take to build?
Budget 4-8 hours for a first flat-plate build: 1-2 hours for design, 2-3 hours for cutting and drilling, 1 hour for edge finishing, 1 hour for assembly. Tube chassis builds add 2-3 hours plus 24 hours adhesive cure. Subsequent builds run faster once patterns and jigs are proven.
Can I repair a cracked carbon fiber arm on a DIY frame?
Plate arms should be replaced, not repaired — they are consumables, and a bonded repair changes stiffness unpredictably. Cut a replacement from the same plate and bolt it in. Tube chassis arms are the exception: cut out the damaged tube, re-prep the node socket, and bond a fresh tube; restore alignment in the jig before the adhesive cures.
Conclusion
A DIY carbon fiber drone frame build rewards careful material selection, disciplined cutting and a pre-flight checklist you actually run. Start with flat plate for your first build, step up to tube chassis when span and payload demand it, and treat every bolt hole and bond line as a load path that must be right. YongXian supplies roll-wrapped carbon fiber tubes, rods and CNC-cut CFRP plate for drone builders worldwide. Browse our carbon fiber tubes, rods and plate or contact our engineering team to discuss diameters, wall thickness and plate layups for your next airframe.
Part of topic
Related Articles
- Carbon Fiber AR Grip: Material Performance for Firearm Components
- Carbon Fiber Tube You Need 50 mm OD 47 mm ID: Custom Dimensions Sourcing
- Filament Wound Tank: Types, Design and Certification
- Carbon Fiber Plate Insert Shoe: Retrofit and Fit Guide
- How Are Carbon Fiber Drone Frames Made: Manufacturing Process
- What Are Carbon Fiber Tubes Used For: Application Overview
Interested in Our Products?
Contact our team for competitive pricing and technical specifications.
Get a QuoteRelated Products
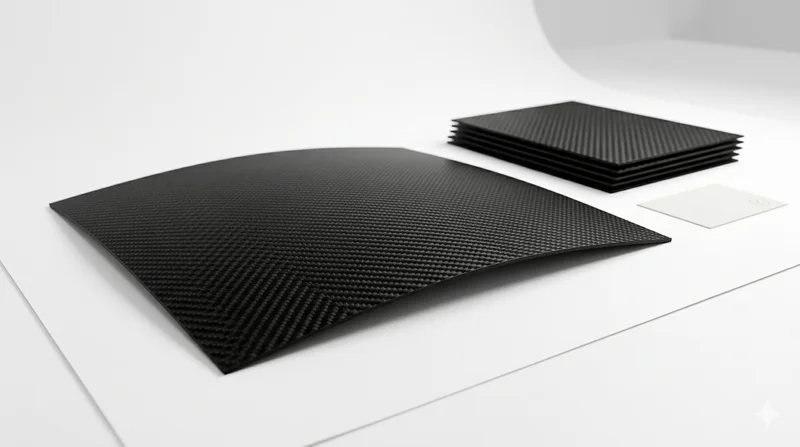
Carbon Fiber Plate — 3K Twill T700 1.5mm
Thin 1.5mm carbon fiber plate with 3K twill weave surface. Lightweight and stiff, commonly used for covers, panels, drone bodies, and applications requiring a premium aesthetic appearance.
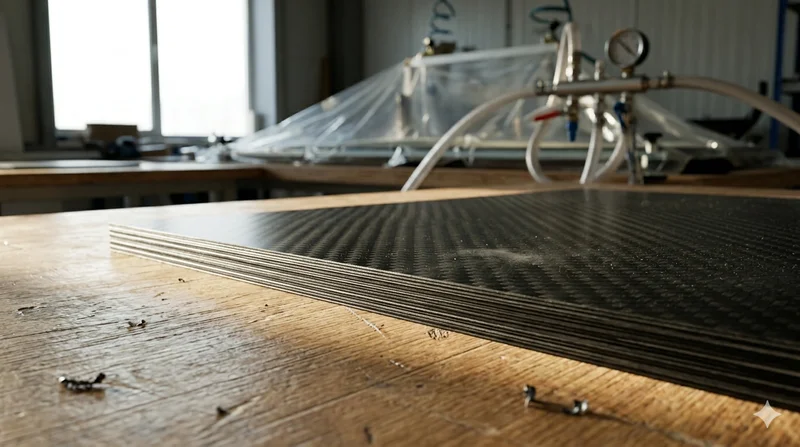
Carbon Fiber Plate — 3K Twill T700 3.0mm
Medium-thickness 3.0mm carbon fiber plate offering significantly higher load capacity while maintaining attractive 3K twill finish. Suitable for structural brackets, reinforcement plates, and load-bearing panels.
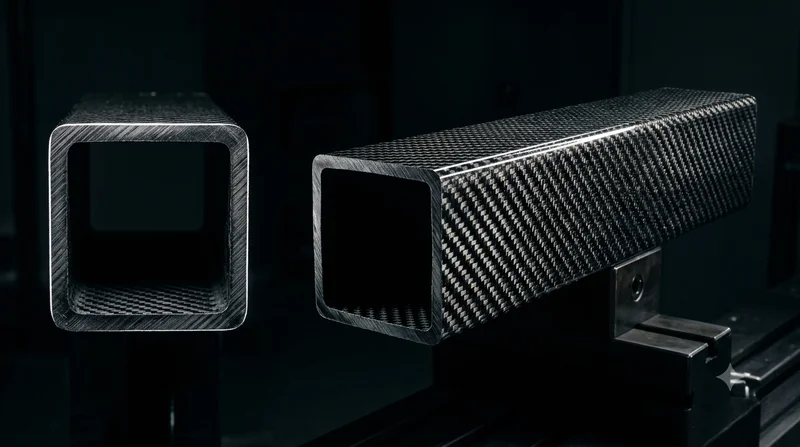
Square Carbon Fiber Tube — 3K Twill T700
Square cross-section carbon fiber tube manufactured with 3K twill weave for torsional strength. Preferred for structural frames, trusses, and support columns where rectangular geometry offers design flexibility.
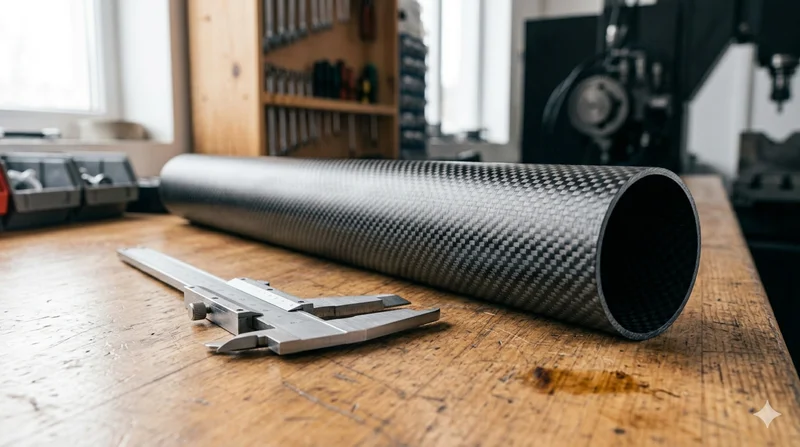
Round Carbon Fiber Tube — 3K Plain Weave T700
Standard round carbon fiber tube manufactured from Toray T700 grade fiber with 3K plain weave. Offers balanced strength and stiffness for general industrial applications including robotics, automation, sports equipment, and aerospace structures.
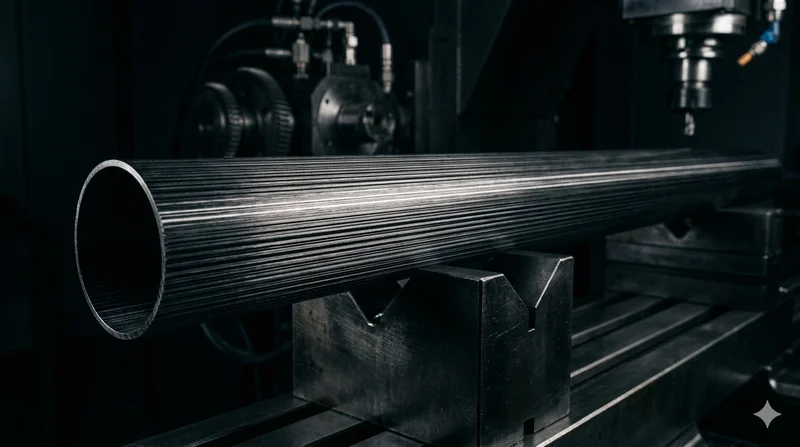
Round Carbon Fiber Tube — UD Unidirectional T700
Unidirectional (UD) round tube with all fibers aligned axially for maximum longitudinal stiffness. Ideal for applications requiring high bending rigidity with minimal weight, such as shafts, struts, and structural reinforcements.