Learning to carbon fiber tube connect properly is a workshop skill that separates an assembly that lasts from one that creeps apart over time. Carbon fiber tubes are strong and light, but they are unforgiving at the joint: the resin is brittle, the fibers carry load in one direction, and a joint tha
Introduction
Learning to carbon fiber tube connect properly is a workshop skill that separates an assembly that lasts from one that creeps apart over time. Carbon fiber tubes are strong and light, but they are unforgiving at the joint: the resin is brittle, the fibers carry load in one direction, and a joint that looks neat can still be weak if the overlap or surface preparation is wrong. A bicycle frame, a drone arm and a robotic link all succeed or fail on how their tubes are joined.
This guide is a complete assembly procedure. It covers the main options for connecting carbon fiber tubes, how to prepare the surfaces, how to bond a sleeve and set an insert, how to build a T-joint or a chassis node, and how to check the finished joint before it is trusted with a structural load. Work through the steps in order, and the result will be a joint that is as strong as the tubes it connects.
How to Connect Carbon Fiber Tubes: The Main Options
There are four practical ways to carbon fiber tube connect, and the choice sets everything that follows:
- Bonded sleeve: a short tube, inside or outside the members, bonded with structural adhesive. The default method for permanent frames.
- Bonded insert: a metal or composite plug bonded into the tube bore to create a hard point for a bolt, a rod end or a bearing.
- Mechanical clamp: a split clamp or flange grips the tube by friction, used when the assembly must be adjusted or taken apart.
- Hybrid joint: a bonded sleeve reinforced with a bolt or a rivet, chosen where fatigue and peel are the main concerns.
For most permanent assemblies, a bonded sleeve or a bonded insert gives the best strength for the least weight. Mechanical clamps and hybrid joints are reserved for joints that must come apart or that see heavy cyclic load.
Preparing Tubes Before You Connect Them
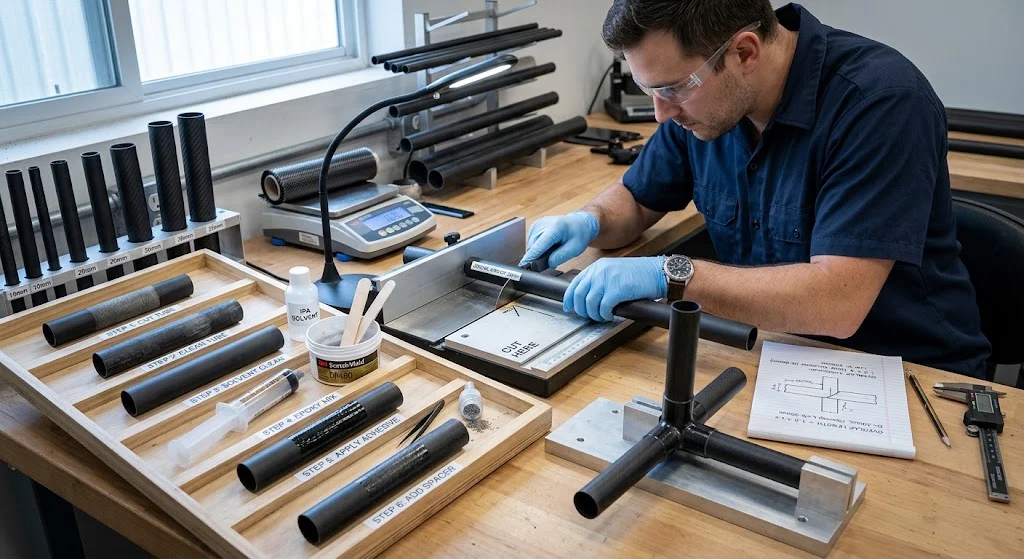
Surface preparation is the single biggest factor in joint strength, and it is almost always the step done too quickly. The procedure has three parts. First, cut the tube square with a fine-tooth blade or an abrasive cut-off wheel, supported so the fibers do not splinter; a square cut within half a millimetre is usually required for a good overlap. Second, abrade the bond area with 80 to 120 grit paper, over a length about 20 millimetres longer than the final overlap at each end, until the surface is a uniform dull matte and the resin shine is gone. Third, clean with a solvent such as isopropyl alcohol on a lint-free cloth, and handle the tube only by the ends afterwards, because skin oils ruin adhesion.
Dry-fit the joint before any adhesive is mixed. Check that the overlap is one to one and a half tube diameters, that the sleeve slides on without forcing, and that the alignment is correct. A dry run also reveals whether the insert length is right and whether a small vent hole is needed to let trapped air escape when the sleeve is pushed into place.
Adhesives, Sleeves and Inserts
A toughened two-part epoxy paste is the standard adhesive for structural carbon fiber tube connection, with a working time of 30 to 90 minutes and a full cure of 24 hours at room temperature or faster with gentle heat. Mix it thoroughly, add glass beads if a controlled bond-line thickness is needed, and apply a thin, even layer to both surfaces. The bond line should finish at 0.1 to 0.3 millimetres; a bond that is too thick loses strength, and one squeezed to nothing starves the joint.
For a sleeve joint, choose a sleeve wall thick enough to govern the joint strength, and overlap the sleeve at least one tube diameter onto each member. For an insert, make the bonded length at least one and a half diameters, and add a small chamfer so the adhesive forms a fillet rather than a sharp edge that peels. When a threaded fitting is required, use a knurled or grooved insert so the adhesive keys mechanically against rotation as well as pull-out.
Step by Step: Connecting Carbon Fiber Tubes with a Sleeve
The table sets out the assembly sequence with the parameter that matters at each step. It applies to a bonded sleeve, the most common carbon fiber tube connection.
| Step | Action | Key parameter |
|---|---|---|
| 1. Measure and cut | Abrasive cut-off or fine-tooth saw, fully supported | Square within 0.5 mm |
| 2. Abrade | 80-120 grit over 20 mm beyond the overlap | Uniform dull matte |
| 3. Clean | Solvent on a lint-free cloth, then air dry | No dust or oil |
| 4. Dry fit | Slide sleeve on, check alignment and overlap | Overlap 1-1.5 diameters |
| 5. Apply adhesive | Thin even film on both parts, rotate on assembly | Bond line 0.1-0.3 mm |
| 6. Align and cure | Jig or tape the joint, hold until green strength | Full cure per datasheet |
| 7. Inspect | Check fillet, voids and alignment | No gaps or squeeze-out voids |
Two details make the difference between a good joint and a failed one. Rotate the parts as they are pushed together, so the adhesive spreads evenly instead of being scraped to one side, and support the joint while it cures so the parts cannot creep out of alignment under their own weight.
T-Joints and Carbon Fiber Tube Chassis Connections
A carbon fiber tube T joint — or any node in a carbon fiber tube chassis — is harder than an inline splice, because the load arrives at an angle and turns into peel and bending. The reliable approach is to spread that load with a fitting: a molded saddle, a bonded metal yoke, or a through-sleeve that the cross tube passes through and is bonded into. Where the tubes are thin, reinforce the node with a wrapped carbon fiber patch or a slightly thicker sleeve on the parent tube before fitting the branch, so the base tube does not crush under the branch load.
In a chassis or space frame, the joints are the weak links, so it pays to overbuild them. Design each node for a load above the tube capacity, keep all bond lines in shear rather than peel, and avoid any joint where a bolt bears directly on an unreinforced thin wall. A well-designed chassis joint is invisible in the finished structure and carries load as if the tubes were one piece.
Checking the Joint After You Connect Carbon Fiber Tubes
Once the adhesive has cured, inspect before you load. Look for a continuous fillet of adhesive around the joint, and for voids or dry areas where the bond line is starved. Check the alignment against the jig, tap the joint lightly to hear for a hollow, disbonded area, and where the joint is critical, proof-load it to a fraction of the design load and watch for movement or cracking. A sound joint shows a smooth, complete bond line and returns no audible difference across the whole overlap.
Frequently Asked Questions
What adhesive should I use to connect carbon fiber tubes?
A toughened two-part epoxy paste is the usual choice for structural joints. It fills small gaps, has a long enough working time to assemble the joint, and reaches full strength in about 24 hours at room temperature. Methacrylate adhesives are an alternative when a faster cure is needed, but they are more flexible and less stiff than epoxy for a load-bearing joint.
How long should the sleeve overlap be when connecting carbon fiber tubes?
An overlap of one to one and a half tube diameters is typical on a bonded sleeve. Below that, the adhesive may not carry the load in shear; above about two diameters, the extra length adds very little strength because the ends of the bond line are already fully loaded. The sleeve wall, not the overlap, usually sets the limit once the overlap is adequate.
Can I connect carbon fiber tubes without adhesive?
Yes, using a mechanical clamp or an expanding insert, and this is the right choice when the assembly must come apart or be adjusted. The trade-off is weight and a lower, friction-limited strength. For a permanent, high-load joint, adhesive bonding or a bonded sleeve almost always gives a lighter and stiffer connection.
Conclusion
To carbon fiber tube connect well is a matter of method, not luck: cut square, abrade thoroughly, clean carefully, dry-fit, bond with the right overlap and bond-line thickness, and inspect before loading. Sleeves and inserts cover most permanent assemblies, while clamps and hybrid joints handle the cases that must come apart or that see heavy fatigue.
YongXian supplies carbon fiber tubes, sleeves, inserts and adhesives for complete assemblies. Explore our carbon fiber tube range or contact our engineering team for guidance on connecting tubes for your frame or chassis.
Part of topic
Related Articles
- Carbon Fiber Tubes and Rods: Sizing and Selection for Projects
- Carbon Fiber Tube Chassis: Space Frames for Vehicles and Drones
- Carbon Fiber Tube Connection: Sleeves, Inserts and Adhesive Joints
- Carbon Fiber Tube T-Joint: Bonding and Mechanical Assembly Options
- Carbon Fiber Tube Clamps: Joint Design and Hardware Selection
- Carbon Fiber Sheets for Sale 1mm: Grade and Thickness Buying Guide
Interested in Our Products?
Contact our team for competitive pricing and technical specifications.
Get a QuoteRelated Products
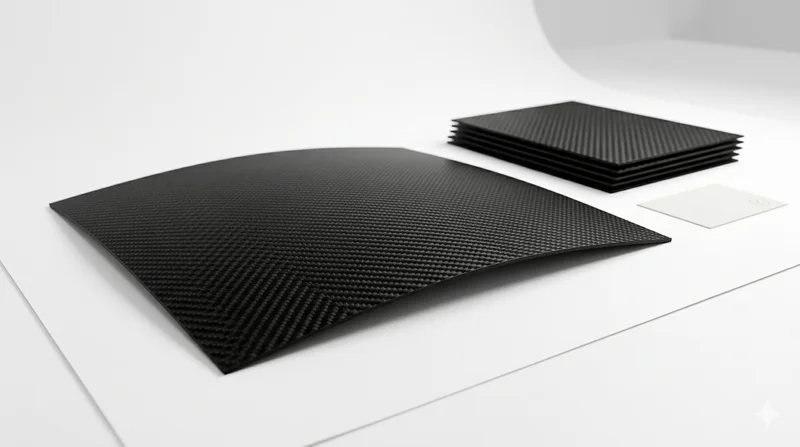
Carbon Fiber Plate — 3K Twill T700 1.5mm
Thin 1.5mm carbon fiber plate with 3K twill weave surface. Lightweight and stiff, commonly used for covers, panels, drone bodies, and applications requiring a premium aesthetic appearance.
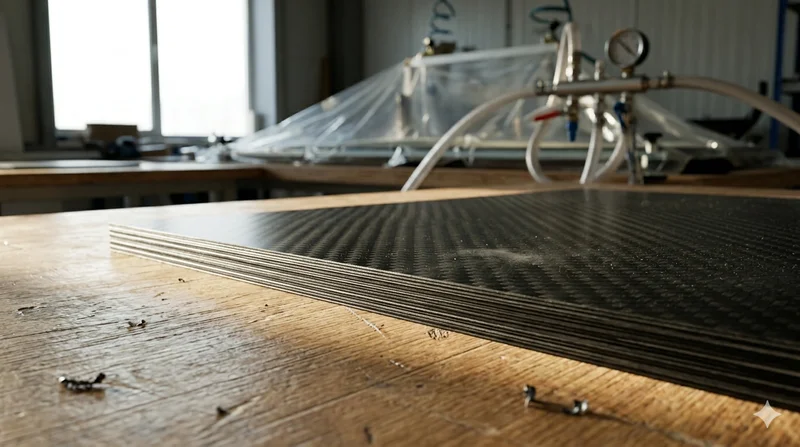
Carbon Fiber Plate — 3K Twill T700 3.0mm
Medium-thickness 3.0mm carbon fiber plate offering significantly higher load capacity while maintaining attractive 3K twill finish. Suitable for structural brackets, reinforcement plates, and load-bearing panels.
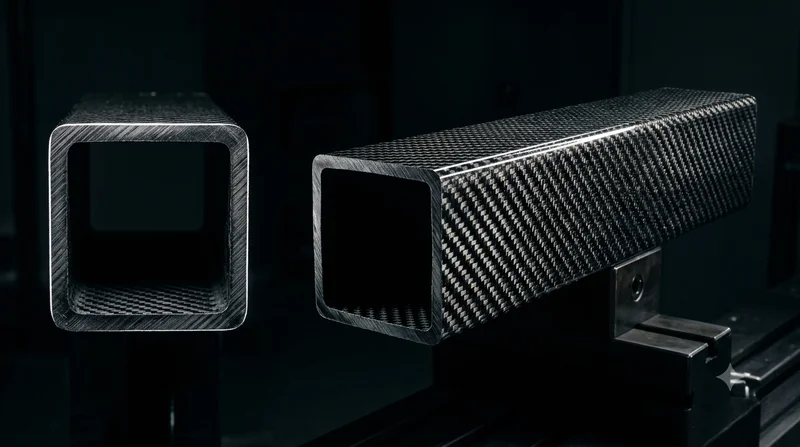
Square Carbon Fiber Tube — 3K Twill T700
Square cross-section carbon fiber tube manufactured with 3K twill weave for torsional strength. Preferred for structural frames, trusses, and support columns where rectangular geometry offers design flexibility.
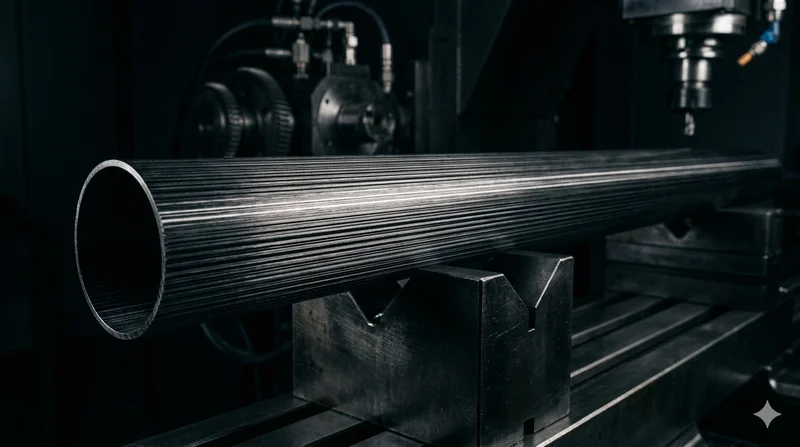
Round Carbon Fiber Tube — UD Unidirectional T700
Unidirectional (UD) round tube with all fibers aligned axially for maximum longitudinal stiffness. Ideal for applications requiring high bending rigidity with minimal weight, such as shafts, struts, and structural reinforcements.
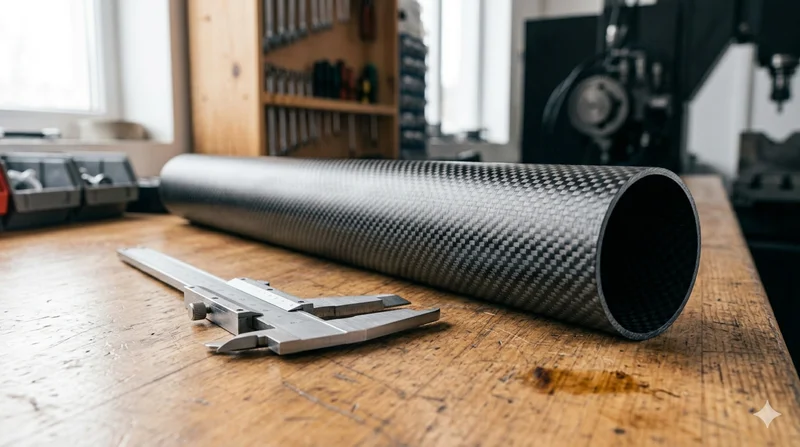
Round Carbon Fiber Tube — 3K Plain Weave T700
Standard round carbon fiber tube manufactured from Toray T700 grade fiber with 3K plain weave. Offers balanced strength and stiffness for general industrial applications including robotics, automation, sports equipment, and aerospace structures.