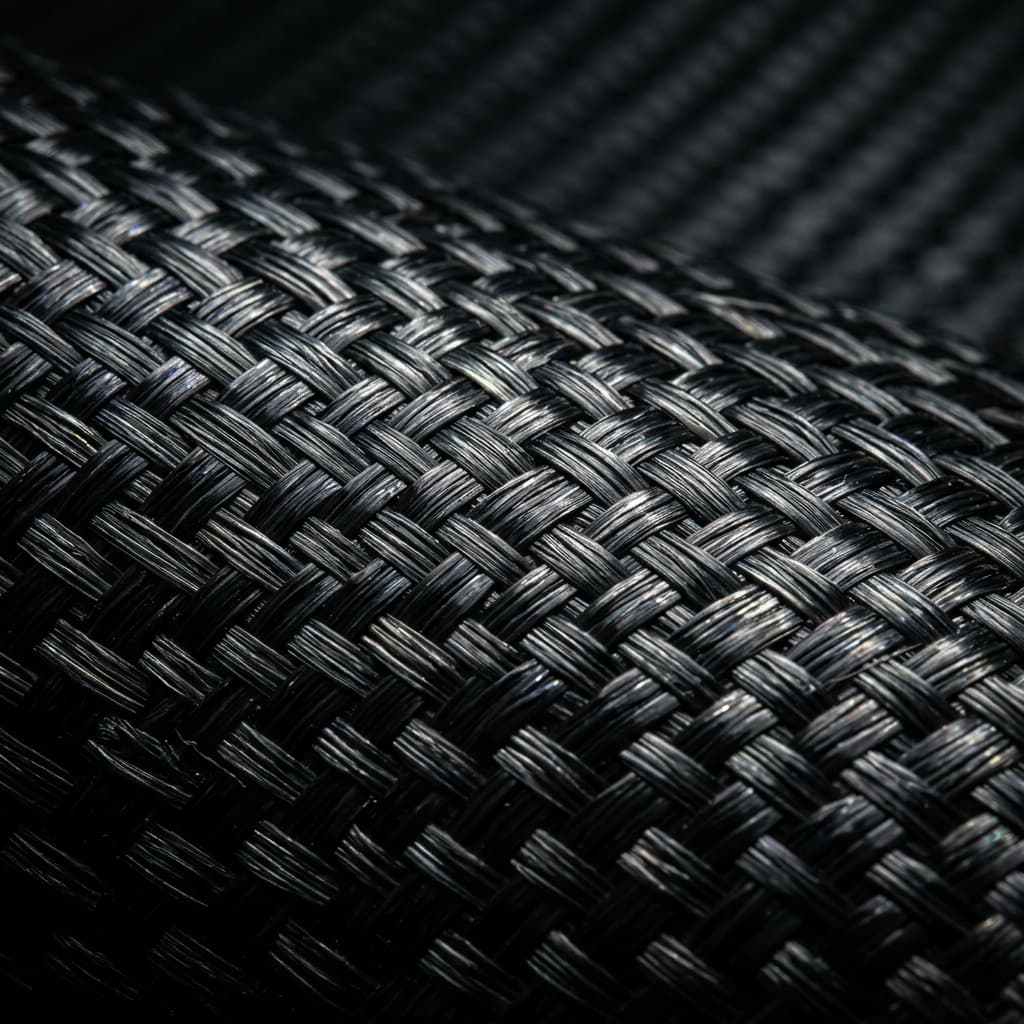
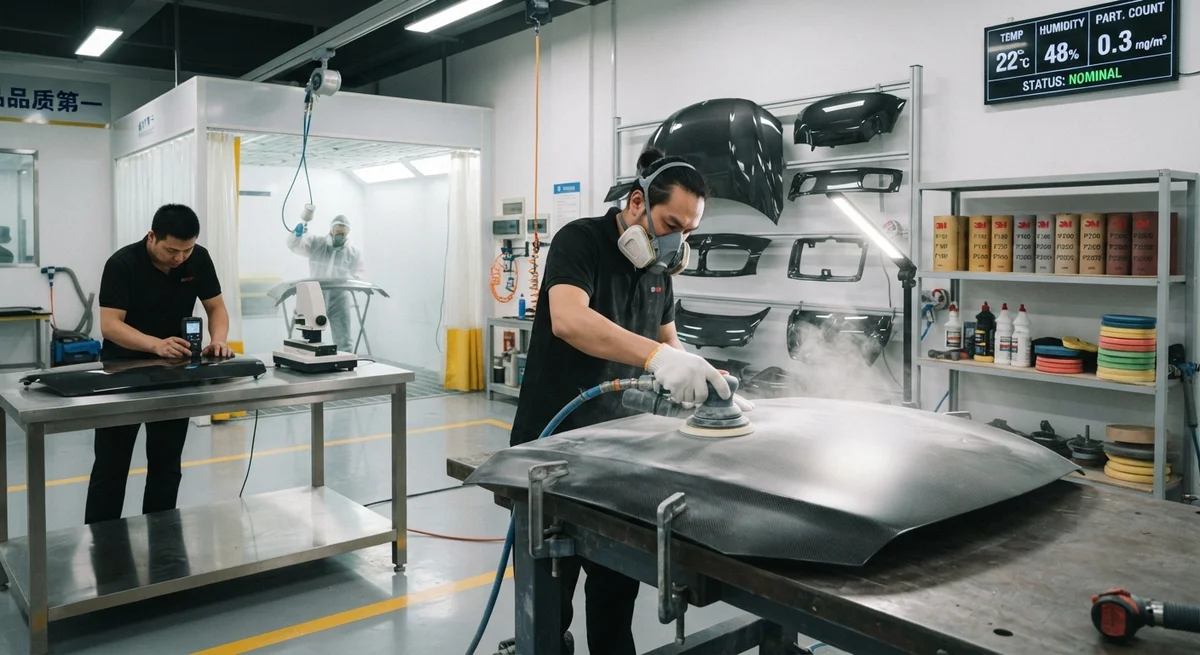
A comprehensive technical guide to carbon fiber post-processing — sanding grit progression, mechanical vs. hand polishing, surface sealing methods, and quality control metrics. Includes comparative data on surface roughness, cycle times, and cost for prepreg and infusion-molded parts, with practical recommendations for B2B buyers.
The Importance of Post-Processing in Carbon Fiber Manufacturing
Carbon fiber composite parts emerging from a mold rarely meet the surface finish requirements for their final application. Whether produced by prepreg autoclave curing, resin infusion, compression molding, or wet lay-up, as-molded surfaces exhibit common defects: ply overlap痕迹, resin-rich or resin-starved zones, pinholes from entrapped air, and mold release residue. Post-processing — the systematic sequence of sanding, polishing, and sealing — transforms these as-molded surfaces into finished components that meet the dimensional tolerances, aesthetic standards, and environmental resistance required by demanding B2B applications across aerospace, automotive, medical, and industrial equipment sectors.
The global composites finishing market was estimated at $2.8 billion in 2025, with post-processing labor accounting for 15-30% of total part cost depending on complexity. For a typical carbon fiber part requiring Class A automotive surface finish (Ra below 0.5 μm), post-processing can represent between 6 and 18 hours of skilled labor per square meter. Understanding the relationship between process parameters, achievable surface quality, and cost is essential for B2B buyers evaluating carbon fiber component suppliers.
Sanding: Grit Progression and Technique
Sanding is the foundation of any carbon fiber post-processing sequence. The objective is to remove the resin-rich surface layer (typically 0.05-0.20 mm thick), eliminate pinholes and surface defects, and establish a uniform substrate for polishing and sealing. The choice of abrasive grit sequence, sanding technique (wet vs. dry), and tool selection directly determines the final surface quality and the time required to achieve it.
| Stage | Grit Range | Purpose | Method | Typical Time (per m²) |
|---|---|---|---|---|
| Coarse leveling | P180-P240 | Remove mold-release residue, level resin-rich peaks, expose pinholes | Dry, random-orbital sander at 6,000-10,000 RPM | 15-25 min |
| Intermediate smoothing | P320-P400 | Remove P180 scratches, reduce surface roughness to Ra 3-5 μm | Wet or dry, 6 mm orbit DA sander | 20-30 min |
| Fine finishing | P600-P800 | Prepare surface for primer, reduce to Ra 1-2 μm | Wet, hand block or orbital sander at low speed | 25-40 min |
| Pre-polish | P1000-P1500 | Remove P600 scratches, achieve Ra 0.5-1.0 μm | Wet only, soft block, light pressure | 30-45 min |
| Final sand | P2000-P3000 | Micro-finish before buffing, achieve Ra 0.2-0.5 μm | Wet, foam pad, minimal pressure | 20-35 min |
Critical considerations for sanding carbon fiber:
- Wet sanding is strongly recommended from P400 upward. Water acts as a lubricant and coolant, preventing resin overheating (which causes smearing and clogged abrasive) and washing away abrasive debris that would otherwise embed in the resin surface. For P1000 and finer grits, distilled water with 5-10% isopropyl alcohol improves wetting and reduces surface tension for a more uniform cut.
- Never sand through the first ply of carbon fiber. Once the weave pattern becomes visible through the resin layer, the structural integrity of the laminate is compromised. A surface thickness gauge or careful visual inspection under raking light should be used to monitor resin removal depth. For thin laminates (2-3 plies), limit sanding to P400 maximum and rely on polishing for final finish.
- Avoid cross-contamination between grits. Loose abrasive particles from a coarse grit carried into the next finer stage will cause deep random scratches that require multiple stages to remove. Compressed air blow-off followed by a clean water rinse between each grit change reduces scratch contamination by 70-90%.
- Soft-backing vs. hard-block sanding: Soft foam or rubber backing blocks conform to gentle curves but can round over sharp edges and reduce dimensional accuracy on flat surfaces. Hard blocks (aluminum or rigid plastic) maintain edge definition but require careful technique to avoid high-spot planing. For flat panels such as automotive body panels or enclosure surfaces, a rigid block with adhesive-backed paper is the preferred method for flatness control within 0.1 mm per 300 mm.
Polishing: Mechanical vs. Hand Techniques
After achieving a uniform matte surface through P2000-P3000 sanding, polishing restores gloss and further reduces surface roughness. The polishing process for carbon fiber composites follows a three-compound sequence similar to automotive paint correction but adjusted for the different material response of epoxy resin.
| Polishing Stage | Compound Type | Abrasive Particle Size | Tool & Speed | Resulting Ra |
|---|---|---|---|---|
| Cutting (compound) | Water-based aluminum oxide or micro-alumina | 3-6 μm | Wool pad, rotary polisher at 1,200-1,800 RPM | 0.15-0.30 μm |
| Polishing (medium) | Ultra-fine aluminum oxide or cerium oxide | 1-3 μm | Foam medium-cut pad, DA polisher at 4,500-5,500 OPM | 0.08-0.15 μm |
| Finishing (fine) | Colloidal silica or fumed silica suspension | 0.05-0.50 μm | Soft foam finishing pad, DA at 3,500-4,500 OPM | 0.03-0.08 μm |
Mechanical polishing with a dual-action (DA) polisher is the preferred method for production environments. A comparison of mechanical and hand polishing methods reveals significant differences in productivity and consistency:
- Cycle time per m²: Mechanical polishing completes the three-stage sequence in 40-60 minutes per square meter. Hand polishing requires 2-4 hours per square meter for equivalent gloss (85+ GU at 60°).
- Consistency (coefficient of variation): Mechanical methods achieve gloss variation of ±3 GU across a part surface, while hand polishing typically yields ±8-12 GU due to variable pressure and stroke pattern.
- Edge and detail access: Hand polishing is superior for complex geometries with tight radii (< 5 mm), undercuts, and internal corners. For these features, small foam applicators (10-20 mm diameter) with fine compound are essential.
- Heat management: Rotary polishers generate localized surface temperatures of 60-85°C during the cutting stage. If the resin system has a glass transition temperature below 120°C — as with standard epoxy (Tg 100-130°C) — sustained polishing in one spot beyond 8-10 seconds can soften the resin surface, causing a wavy "orange peel" effect. DA polishers, with their combined rotation and oscillation, generate lower peak temperatures (45-60°C) and are safer for general use.
Surface Sealing: Protecting the Finished Surface
Even a perfectly sanded and polished carbon fiber surface remains vulnerable to environmental degradation. Epoxy resin absorbs 1-3% moisture by weight over extended exposure to humid environments, leading to micro-cracking, fiber blooming (protrusion of fibers through the resin surface), and UV-induced discoloration. Surface sealing — the application of a protective barrier coating — is essential for parts exposed to outdoor conditions, chemicals, mechanical abrasion, or repeated cleaning cycles.
Three primary sealing strategies are used in the carbon fiber industry, each with distinct performance and cost profiles:
| Sealing Method | Material | Thickness | UV Resistance | Chemical Resistance | Cost per m² | Application |
|---|---|---|---|---|---|---|
| Epoxy primer + 2K PU clear coat | Two-part polyurethane (PU) with isocyanate hardener | 60-120 μm (primer 25-40 μm, clear 35-80 μm) | Excellent (500-1000+ hours QUV) | Good (solvent, fuel, dilute acid resistance) | $18-35 | Automotive, marine, exterior architectural |
| Acrylic urethane (single-stage) | One-part moisture-cure acrylic urethane | 40-80 μm | Good (300-500 hours QUV) | Moderate | $10-18 | Industrial enclosures, interior automotive |
| Nano-ceramic coating | Sol-gel silica or silica-titania hybrid | 1-5 μm | Excellent (1000+ hours QUV with hydrophobic self-cleaning) | Excellent (acid, alkali, solvent resistant) | $25-50 | Premium aerospace, luxury automotive, optical surfaces |
Application guidelines for sealing carbon fiber parts:
- Surface preparation before sealing: The sanded surface must be cleaned with isopropyl alcohol (99% IPA) to remove all sanding residue, oils, and dust. A tack cloth wipe immediately before coating application removes static-attracted particulates. For epoxy primer application, surface temperature should be 18-28°C with relative humidity below 70% to prevent amine blush (a waxy byproduct of incomplete epoxy cure) that would compromise intercoat adhesion.
- Primer application: Two thin coats of high-build epoxy primer at 15-20 μm per coat, with a 15-20 minute flash-off between coats at 20°C. The primer should be allowed to cure for 4-6 hours before wet-sanding with P800-P1000 to remove orange peel texture. This primer-sand-primer cycle is the most critical step for achieving a Class A surface.
- Clear coat application: Two to three coats of 2K PU clear coat at 25-40 μm per coat, with 10-15 minute flash-off between coats. The final coat should be applied with a 50% overlap pattern using an HVLP spray gun at 2.0-2.5 bar pressure and 150-200 mm gun distance. Cure time before handling is 8-12 hours at 20°C; full chemical resistance develops after 7 days.
- Nano-ceramic coating: Applied by hand applicator in a single thin layer (1-3 μm), wiped off after 1-5 minutes flash time depending on ambient temperature, and allowed to cure for 24 hours. The hydrophobic effect produces a water contact angle of 105-115° compared to 70-80° for PU clear coat alone.
Quality Control Metrics for Finished Surfaces
B2B buyers evaluating carbon fiber component suppliers should understand the standard surface quality metrics used in the industry. The following parameters are universally specified in purchase agreements for visible-surface carbon fiber parts:
- Surface roughness (Ra, Rz): Measured with a contact profilometer (stylus radius 2 μm, cutoff 0.8 mm) per ISO 4287. Class A surfaces require Ra ≤ 0.5 μm and Rz ≤ 3 μm. Class B (visible but non-critical) allows Ra ≤ 1.0 μm. Class C (hidden surfaces) accepts Ra ≤ 3.0 μm.
- Gloss (GU at 60°): Measured with a gloss meter per ISO 2813. High-gloss finishes require ≥85 GU at 60° measurement angle. Semi-gloss finishes target 40-65 GU. Matte finishes are ≤20 GU.
- DOI (Distinctness of Image): A measure of reflected image sharpness, critical for show surfaces. DOI of 90-100 corresponds to excellent optical clarity; DOI below 70 indicates visible "orange peel." Measured per ASTM E430.
- Pinhole density: Count per unit area. Acceptable: ≤2 pinholes per dm² for Class A, with individual pinhole diameter ≤0.3 mm. Pinholes larger than 0.5 mm require filling with epoxy paste filler and re-sanding.
- Dry film thickness (DFT): Measured with an eddy-current or ultrasonic gauge per ISO 2808. Total coating thickness (primer + clear) should be within ±10% of the specified target across the part surface.
Cost Analysis: Post-Processing in Production
| Part Type | Surface Area (m²) | Target Finish | Sand Labor | Polish Labor | Seal Materials | Total Cost per Part |
|---|---|---|---|---|---|---|
| Aerospace interior panel | 0.8-1.2 | Class B (Ra ≤1.0 μm) | $45-75 | $25-40 | $15-25 | $85-140 |
| Automotive hood | 1.5-2.0 | Class A (Ra ≤0.5 μm, 85+ GU) | $120-180 | $60-90 | $35-50 | $215-320 |
| Industrial robot arm cover | 0.3-0.6 | Class C (Ra ≤3.0 μm) | $15-30 | $0 (none) | $8-15 | $23-45 |
| Marine exterior panel | 2.5-3.5 | Class A + marine UV seal | $250-400 | $100-180 | $60-100 | $410-680 |
The data above demonstrates that post-processing cost varies by a factor of 10-15x depending on the required finish class. For B2B buyers, specifying the minimum acceptable surface quality — rather than defaulting to "Class A automotive finish" — can reduce component costs by 40-60%. A clear, written surface quality specification with measurable metrics (Ra, Gloss, DOI, pinhole density) eliminates ambiguity and ensures competitive bidding from qualified suppliers.
Frequently Asked Questions
Can carbon fiber parts be post-processed without exposing the fiber weave pattern?
Yes, provided the original part has adequate resin thickness above the first fiber ply — typically 0.10-0.25 mm for compression-molded parts and 0.15-0.40 mm for hand-layup parts. The margin for error depends on the resin-rich layer thickness. For prepreg autoclave parts, which typically have a thin resin layer (0.05-0.10 mm), limit sanding to P600 maximum and rely on polishing and sealing for final appearance. For infusion-molded or wet-layup parts with thicker resin layers, the full P180-P3000 sequence is generally safe. A practical test: sand an inconspicuous area with P400, then inspect under strong raking light. If individual fiber tows are visible through the remaining resin, stop sanding immediately and proceed to polishing from that grit level. For production quantities, destructive cross-section microscopy should be used to characterize the as-molded resin thickness distribution before establishing the post-processing specification.
What is the difference between epoxy primer and polyester primer for carbon fiber surface preparation?
Epoxy primer is strongly preferred over polyester primer for carbon fiber substrates for three reasons: adhesion, flexibility, and chemical resistance. Epoxy primer forms a chemical bond with the epoxy matrix of the composite (both share the same epoxy chemistry), achieving lap-shear adhesion of 15-25 MPa per ASTM D1002. Polyester primer relies on mechanical keying alone, achieving only 5-10 MPa adhesion on sanded carbon fiber surfaces. Additionally, epoxy primer has 5-8% elongation at break versus 2-3% for polyester — the higher flexibility prevents micro-cracking when the carbon fiber part undergoes thermal cycling (e.g., outdoor exposure where surface temperatures can range from -20°C to +80°C). The cost difference is approximately $5-8 per m², but the reduction in adhesion-related field failures more than justifies the premium for any part with a service life exceeding two years.
How does post-processing affect the structural properties of a carbon fiber laminate?
Post-processing primarily affects the resin-rich surface layer and does not significantly alter the structural properties of the laminate if proper technique is followed. The critical concern is sanding depth: removing more than 0.15 mm of resin from a prepreg part with a 0.08 mm resin layer will expose and damage the first structural fiber ply, reducing flexural strength by 15-30% depending on the extent of fiber damage. For infusion-molded parts with thicker resin layers (0.20-0.50 mm), controlled sanding to 0.10-0.15 mm depth removes surface defects without compromising structural capacity. Mechanical polishing, which removes negligible material (0.5-2.0 μm per stage), has no measurable effect on structural properties. Surface sealing with epoxy primer or polyurethane clear coat actually improves environmental durability by 40-60% in accelerated weathering tests (ASTM G154), extending the useful service life of the composite. The net effect of professional post-processing — sanding to controlled depth plus application of a protective seal coat — is nominally neutral or positive for structural performance when executed correctly.
Related Articles
- Bio-Based Carbon Fiber Precursors: Lignin and Polyethylene for Low-Cost Production
- Large-Tow Carbon Fiber Cost Analysis: 48K vs 60K Price-Performance Comparison
- Carbon Fiber-Resin Interface Bonding: Surface Treatment and Coupling Agent Optimization
- Digital Twin for Carbon Fiber Manufacturing: Real-Time Process Monitoring and Defect Prevention
- Thermoplastic Carbon Fiber Welding for Automotive: Ultrasonic and Induction Welding Process Windows
- Large-Tow Carbon Fiber Wet Spinning: Process Optimization for 48K/60K Production Efficiency
Interested in Our Products?
Contact our team for competitive pricing and technical specifications.
Get a QuoteRelated Products
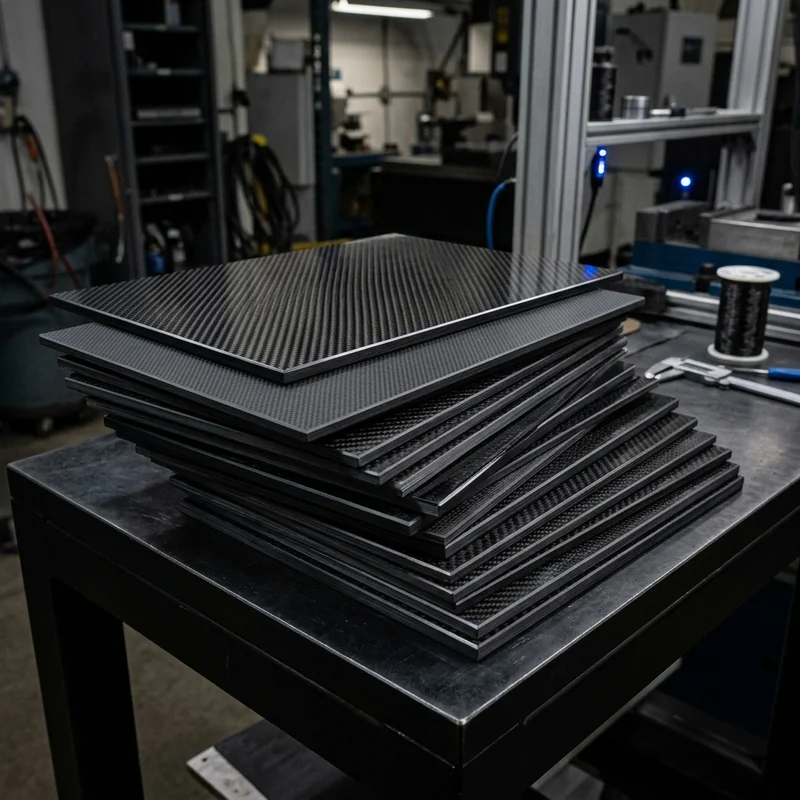
Carbon fiber standard plate-3k stripe
Lightweight, ultra-rigid standard sheets for drone fuselages, robot housings, facades and structural applications.
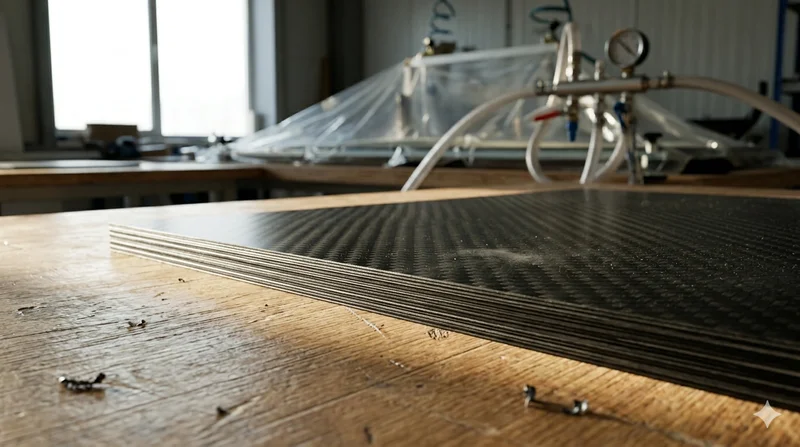
Carbon Fiber Plate — 3K Twill T700 3.0mm
Medium-thickness 3.0mm carbon fiber plate offering significantly higher load capacity while maintaining attractive 3K twill finish. Suitable for structural brackets, reinforcement plates, and load-bearing panels.
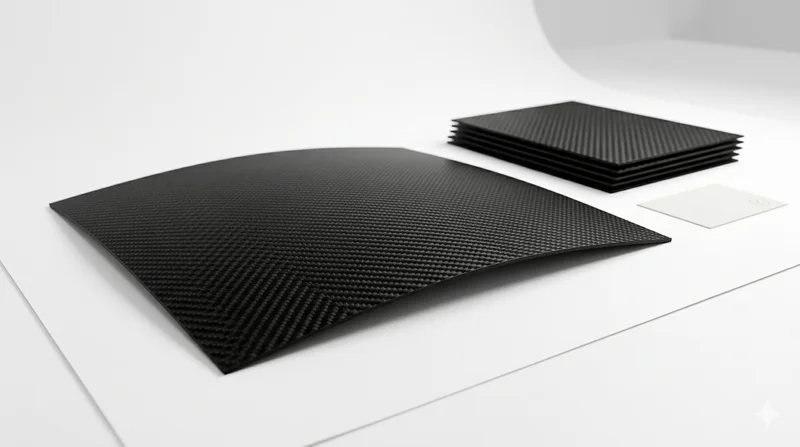
Carbon Fiber Plate — 3K Twill T700 1.5mm
Thin 1.5mm carbon fiber plate with 3K twill weave surface. Lightweight and stiff, commonly used for covers, panels, drone bodies, and applications requiring a premium aesthetic appearance.
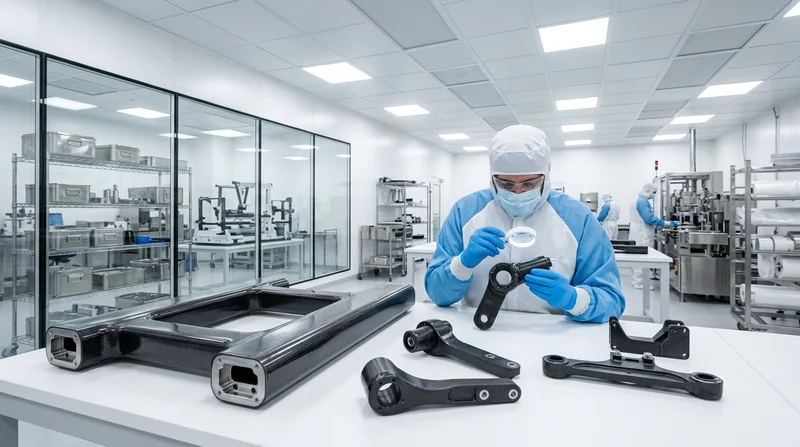
Custom Carbon Fiber Medical Device Components
Medical-grade carbon fiber components manufactured for imaging equipment, surgical instruments, and patient support systems. Carbon fiber's radiolucency (X-ray transparency) and high strength-to-weight ratio make it ideal for CT scanner beds, wheelchair frames, surgical robot arms, and MRI-compatible accessories. Biocompatible resin systems available.
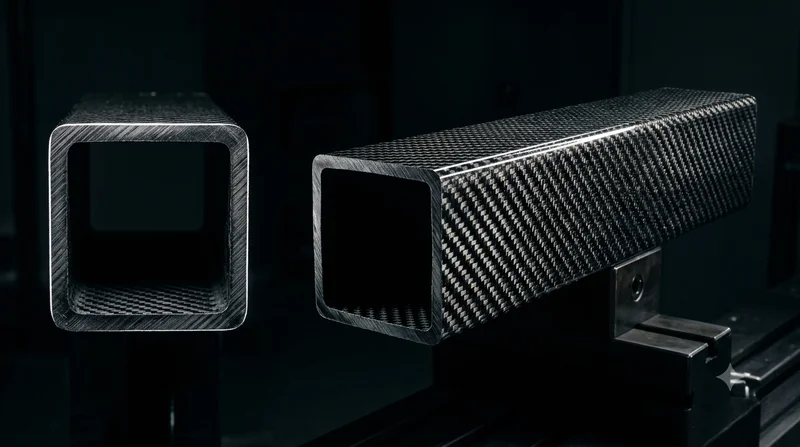
Square Carbon Fiber Tube — 3K Twill T700
Square cross-section carbon fiber tube manufactured with 3K twill weave for torsional strength. Preferred for structural frames, trusses, and support columns where rectangular geometry offers design flexibility.